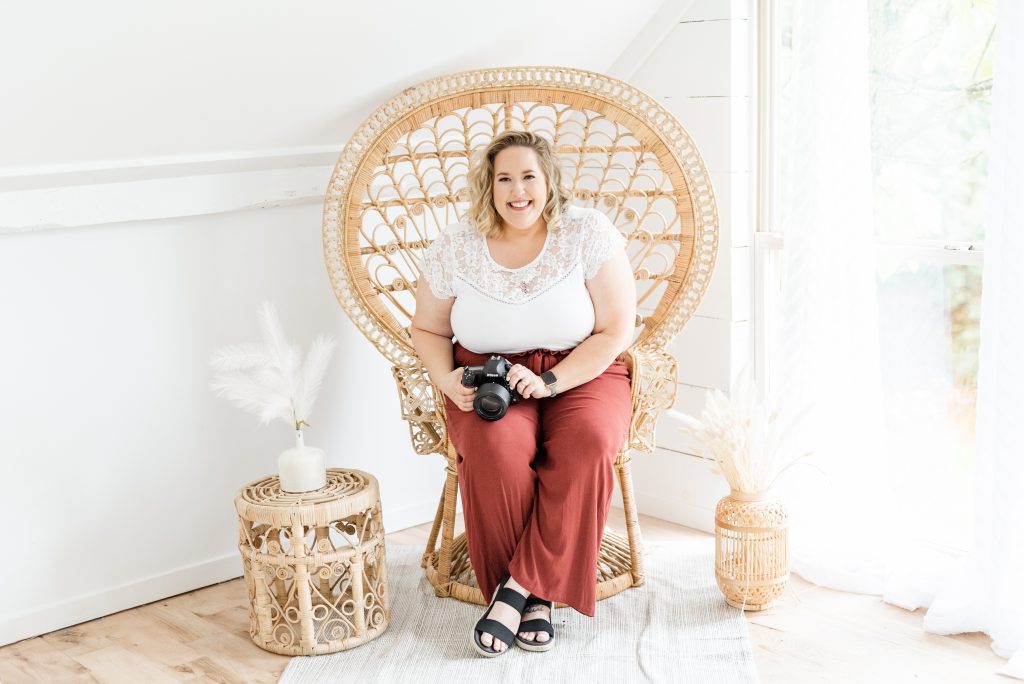
As you probably already know by seeing my feed on instagram and facebook, that I have a pretty fast turnaround time. 6 days to be precise! In the 4 years that I have been professionally photographing I have perfected my workflow. It actually started year 3 which was my test run year of my workflow and y’all…it worked. I’ve always had clients ask me “How do you do it, that’s so fast?!” I’ll let you in my little secret. It’s the workflow! I promise I do sleep! Here’s the journey of an image from session to delivery!
the journey
during the session
During the session, as I’m clicking away gets stored in two places. In both card slots on my camera. One on a SD card and a duplicate image onto my second slot which is a XQD card. I know that sounds technical. Know that your images are backed up in two places during your session.
after the session
Once the session is over, I of course make my way to my desktop computer where I again back up the session to what I call my big boy drive. It’s a huge drive that backs up to a cloud storage. Once I’ve imported my images through a system called Photo Mechanic, which is a photographer’s best friend. I am able to smoothly and quickly go through the images with very little lag time. Next, I cull through the images, picking the best images that are in focus, from the end of the session or wedding to the beginning. I pick them by selecting the number 5 where it gives the image a 5 star rating.
creating folders!
When those are chosen I create folders that pertain to the session and select and drag the 5 star images into the correct folders. Next, is my favorite part, the sneak peek. I import all the images/folders to Adobe Lightroom. Here is where I choose about 5-10 images from the day by pressing a number on my keyboard to highlight it to a color, blue. I can then filter all the images that are in blue and edit those images to my gorgeous style of mine. Then export and upload to instagram and facebook.
the blog post
Next step, for weddings and engagements, is gather the images for the blog! I go to each folder from the day and press a number to highlight it yellow. Then, I choose the images that tell a story of the day. I then use the images that are in blue and copy the edit to the ones that are in yellow. I fine tune them and export those images and use a system called BlogStomp, where I can arrange the images according to the day. Those then get sent over to WordPress where I share a little about the day and make that go live on Wednesdays for wedding Wednesday!
Then after that is posted and LIVE I then select and synchronize the images that are similar and fine tune the images. I edit by folder and export and upload by folder to the online gallery. I can have this done in a couple or so hours.
online gallery
Then the online gallery is LIVE and sent off to the email by Friday morning. Sometimes there may be a lag in delivery depending if there are any issues overnight or during the day while the images are uploading to the gallery. Which doesn’t happen very often!
And that’s the journey of an image from session to delivery. This all seems like so much, but really it’s super fast especially when it’s habit! This may not be every photographers workflow cause it might not work for them, but it certainly works for me. I hope you enjoyed this! I can’t wait to deliver another blog post that may be helpful for you as a photographer or bride!
Wanna see more educational posts from Heather, click here!
Leave a Reply
- KRISTIN S.
“The photos that stand out to me most are the ones of my husband and I dancing the polka at our reception with my 93-year-old grandparents. I feel so fortunate to have had both of them in person at our wedding, let alone up dancing on the dance floor with us, even for a brief time. I still cry when I look at them. They will be so special to us in years to come.”
“Heather knew getting photos with my grandparents
was very important to me, and she delivered!“
- OKSANA F.
“However, what won me and my husband over was our first meeting with her. She was the most bubbly, pleasant, friendly, loving human being. We appreciated her warmth and her attention to detail. She was well-established, a wonderful planner, and she truly wanted us to have the greatest memories.”
“I loved her pictures. It was like love at first sight!”
- OLIVIA B.
“She has such a passion for her couples and capturing their true love story! It shows completely when she is snapping away. Her facial expressions and the gasps she makes when she takes a picture that she loves are just the best! We never had someone get as excited as her when taking pictures! And we love it!”
“Heather truly makes you feel like you are her
favorite couple ever to work with!”
Curious to know what are you using for your big boy drive? I am looking to upgrade to something more!
Hey Jamie!
I use G-Drive (G-Technology via westerndigital.com) 10 TB with Thunderbolt and just added G-Drive 14 TB USB-C to the family! They aren’t Solid State Drives but they don’t go anywhere so there’s no risk of dropping.